Ouster Gemini Detect: Setup
Connecting to the Ouster Gemini Detect GUI
Once the Catalyst hardware or customer-supplied computer is connected to the network, and the Ouster Gemini Detect software is installed and running, the user can access the computer via a web browser.
For the best browser experience, Ouster recommends that the customer use a computer with a discrete GPU and the Google Chrome browser.
Assuming that the computer running Ouster Gemini Detect has an IP address of 192.168.1.1, the user may establish an initial connection to Ouster Gemini Detect by pointing their browser at https://192.168.1.1.
When accessing the Detect Viewer, user may see a warning that the site is not secure. This is because the Detect Viewer is served using a self-signed certificate. If you are using Chrome, you can bypass this warning by clicking on the Advanced link and then clicking on Proceed to {detect_url} (unsafe).
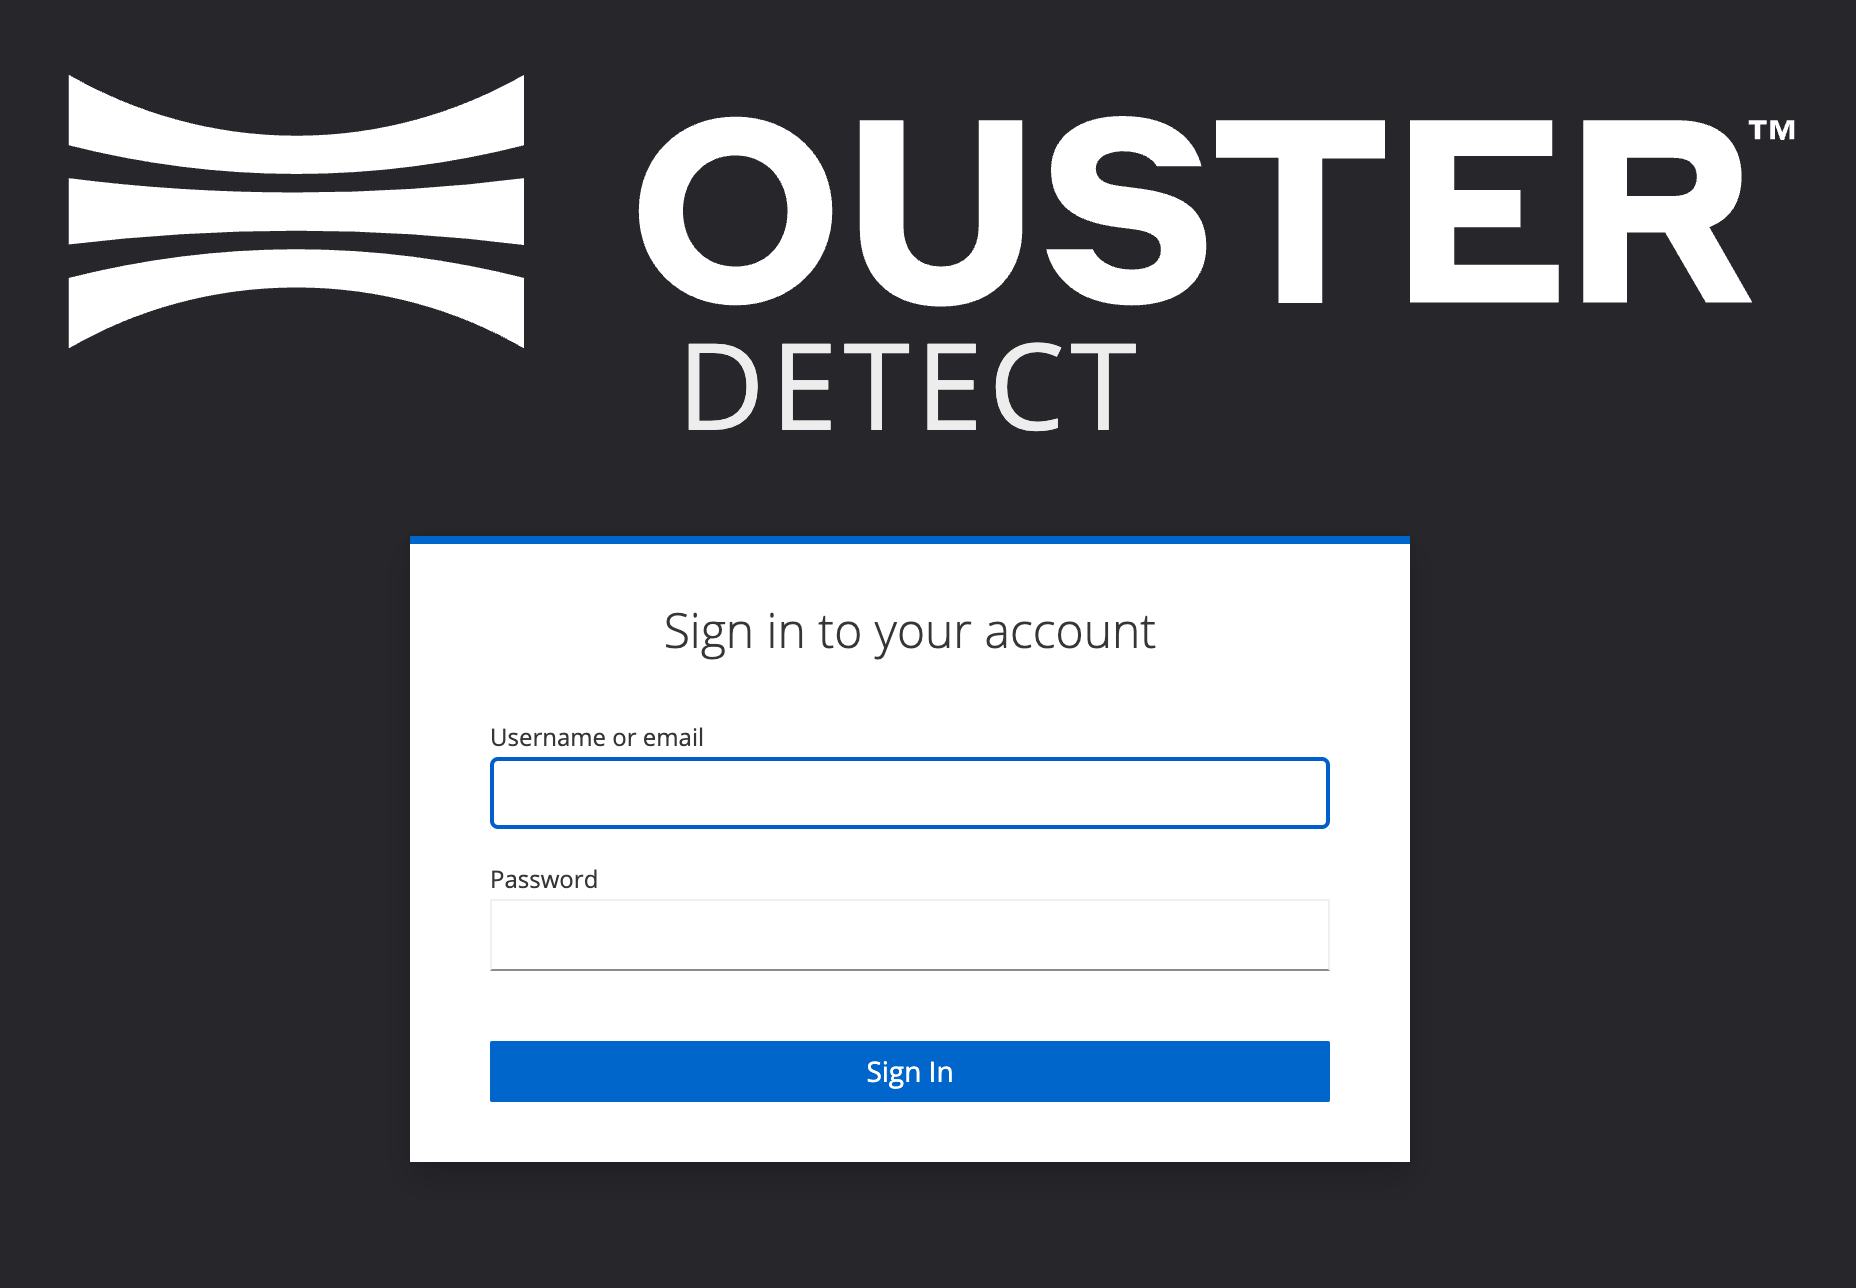
The user will be redirected to the login page where they will be prompted to enter their credentials. On first login, the user will be prompted to change the default password. The default credentials are as follows (case sensitive):
Username:
ousterPassword:
Stone-Pass-Fill
For more information on Role Based Access Control, please refer to the Role Based Access Control section.
Note
Ouster Gemini Detect viewer is accessed through port 443. Please configure your networking accordingly to enable communication through these ports.
Activating the Software License
Ouster Gemini Detect Software package will be sent to the customer along with the software entitlement ID. The entitlement ID or Locking Code is required to activate the software license. The software license is tied to the hardware and is not transferable. Using the entitlement ID is preferred however, the system will require network access to ouster.prod.sentinelcloud.com. If this is not possible, please follow the offline activation steps.
Note
If you have any trouble activating the license, please reach out to Ouster Support.
The licensing controls are on the License tab of the Setup page. Click Setup in the top navigation bar, then select the License tab in the right-hand pane (highlighted below). New licenses are added under New License, and activated licenses are listed under Licenses.
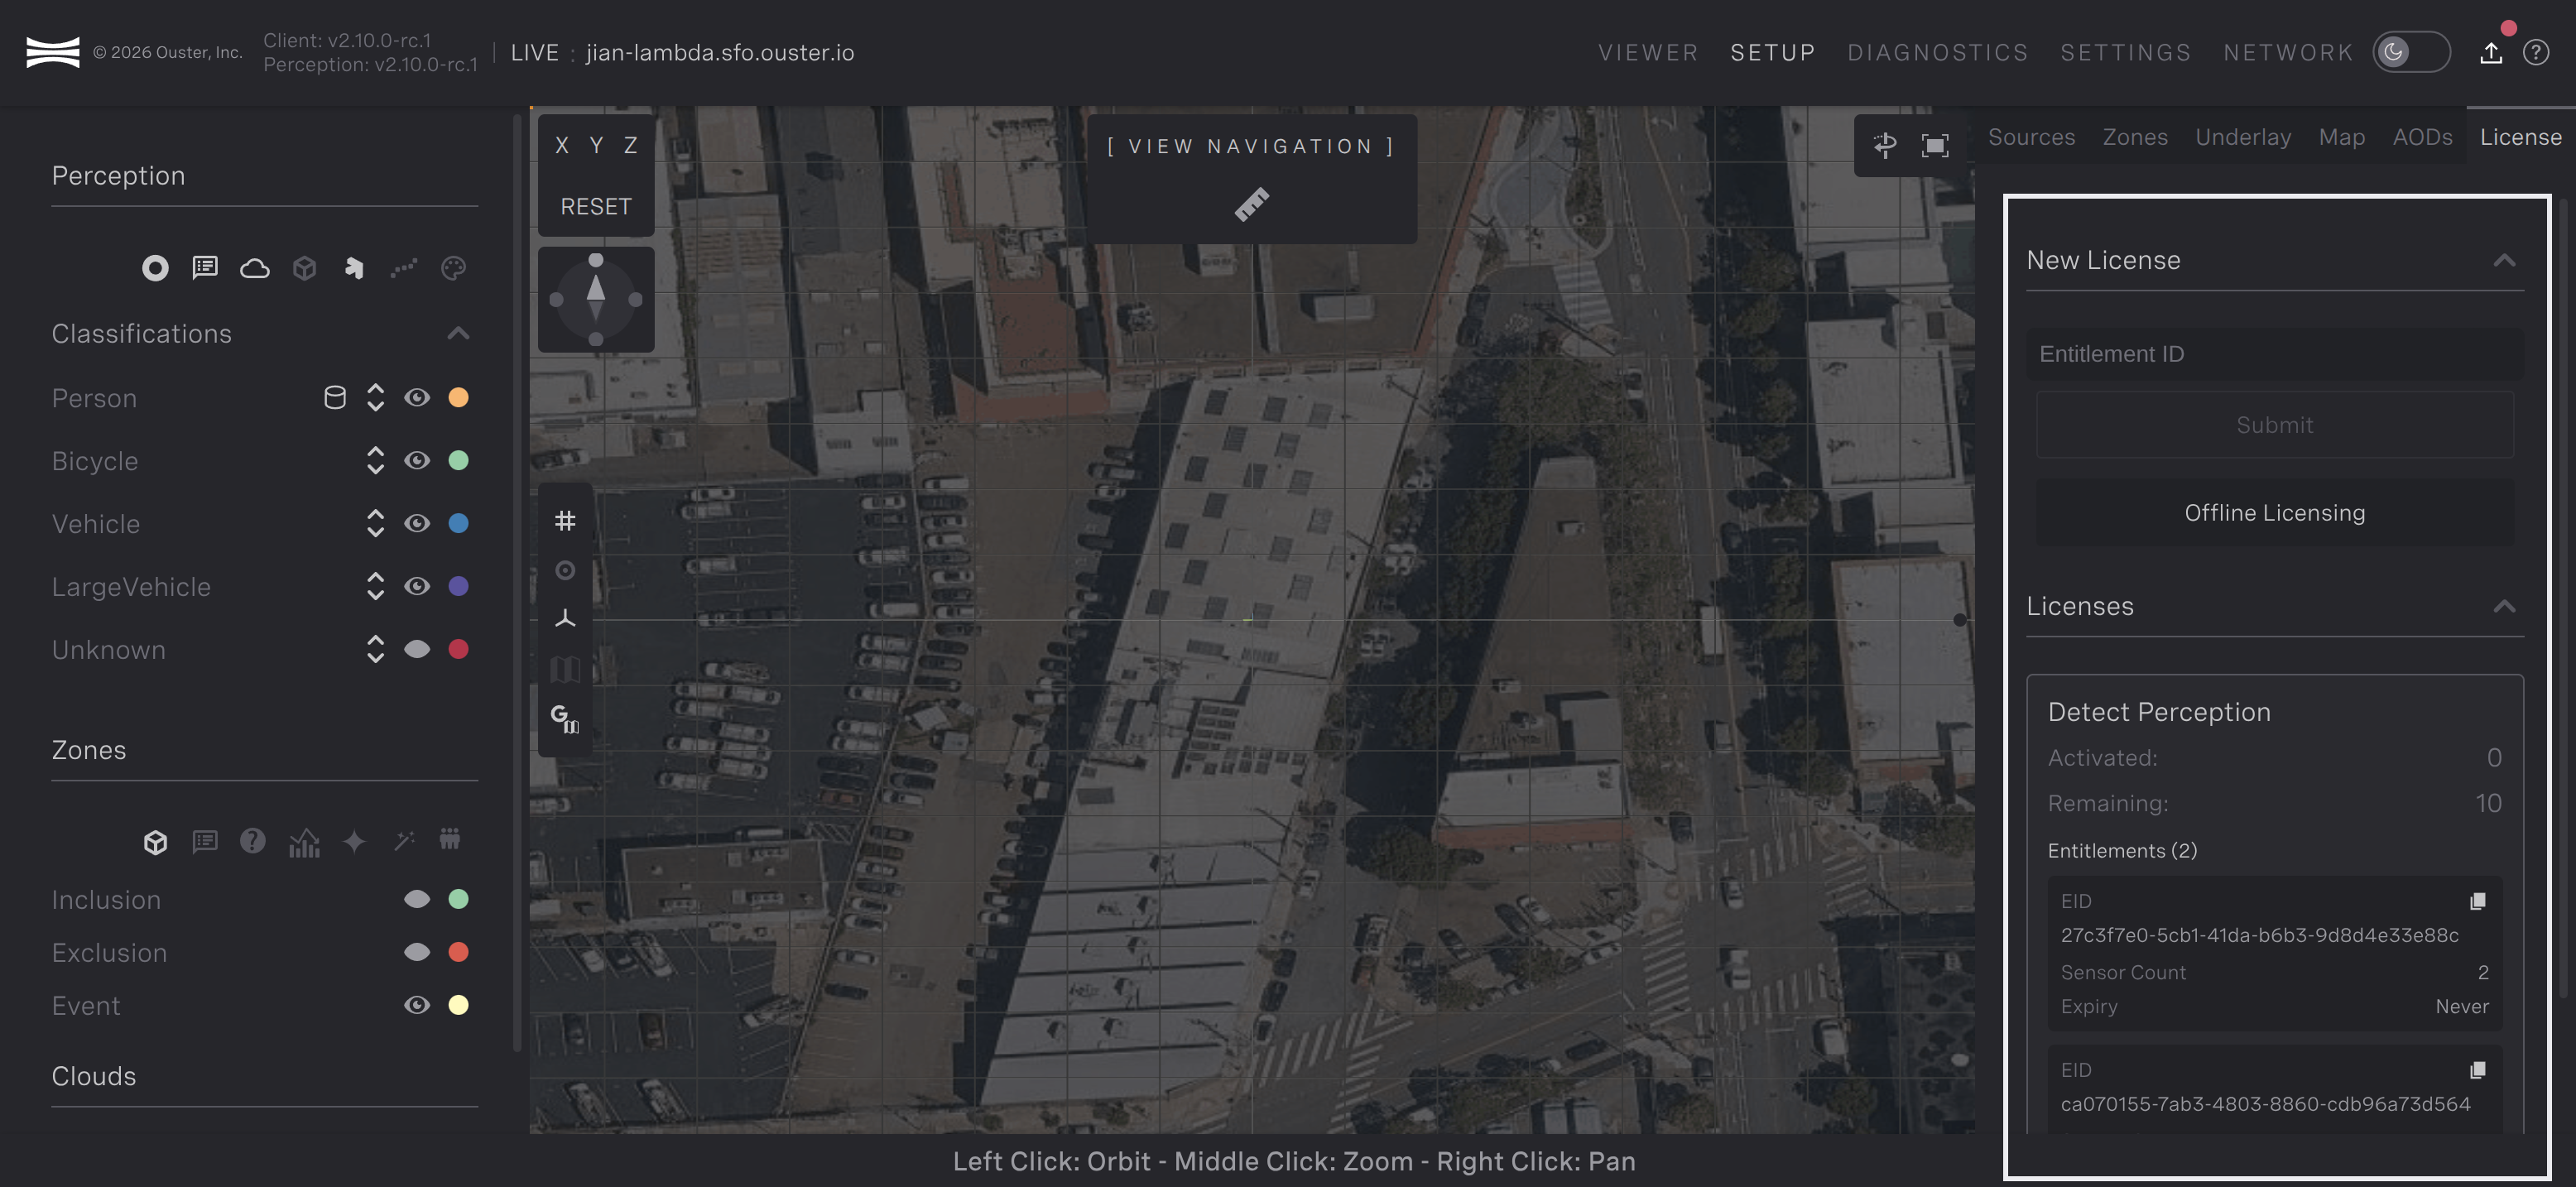
The License tab on the Setup page
The New License section holds the controls for activating a license:
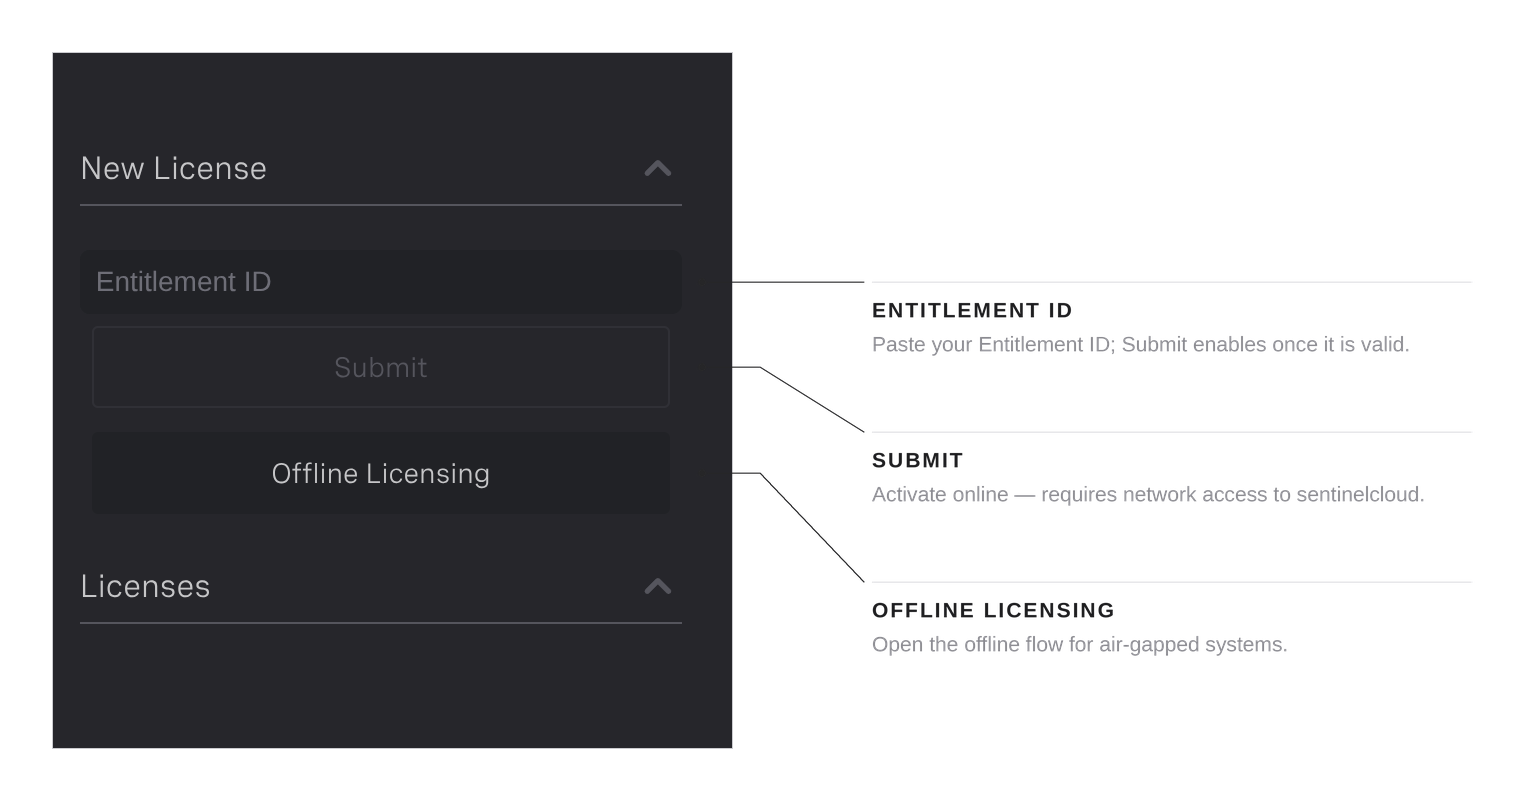
License pane — activation controls
Online Activation
Online activation requires network access to ouster.prod.sentinelcloud.com.
Example Entitlement ID: f963870f-1c11-46e6-8639-479da2a5732f
Step 1: Under New License, paste the Entitlement ID received in your customer email into the field. The Submit button stays disabled and the field shows Invalid format until a valid Entitlement ID is entered.
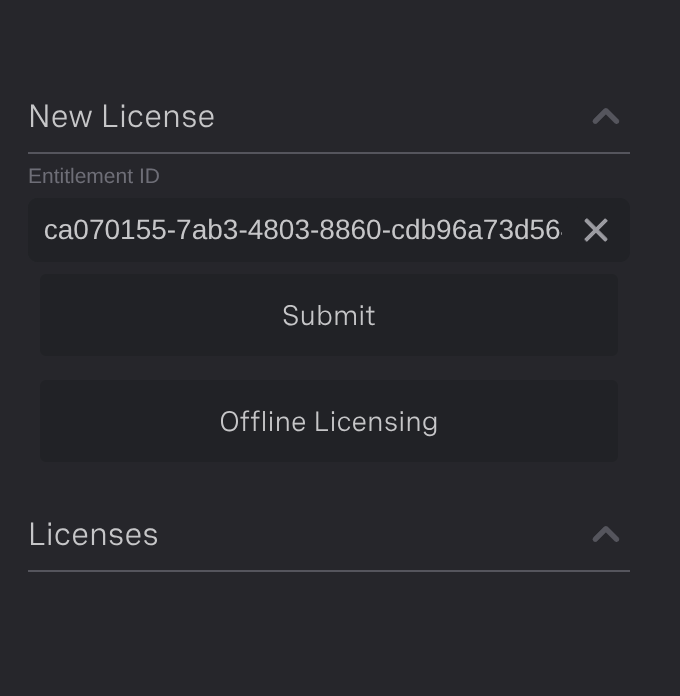
Entitlement ID entered, ready to submit
Step 2: Click Submit. On success the form displays Success in activating license and the license appears under Licenses. If activation fails, the error reported by the Ouster Solutions Agent is shown.
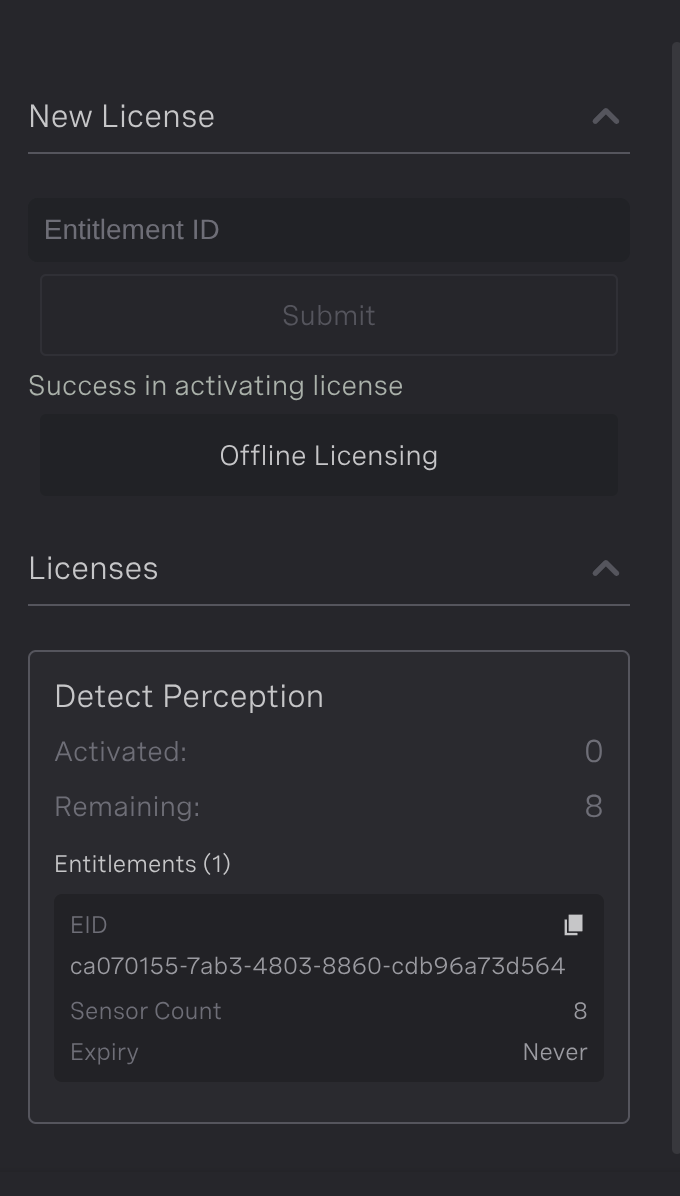
Successful online activation
Note
Network access to ouster.prod.sentinelcloud.com is not required after the license is activated.
Offline Activation
Use offline activation for air-gapped machines that cannot reach ouster.prod.sentinelcloud.com.
Step 1: Under New License, click the Offline Licensing button to open the Offline Licensing dialog.
Step 2: Click the Locking code (or the copy button next to it) to copy it, then send it to Ouster Gemini Detect. You will be issued a license key via email from noreply@gemini.ouster.com. Copy the license key in its entirety, including any leading spaces.
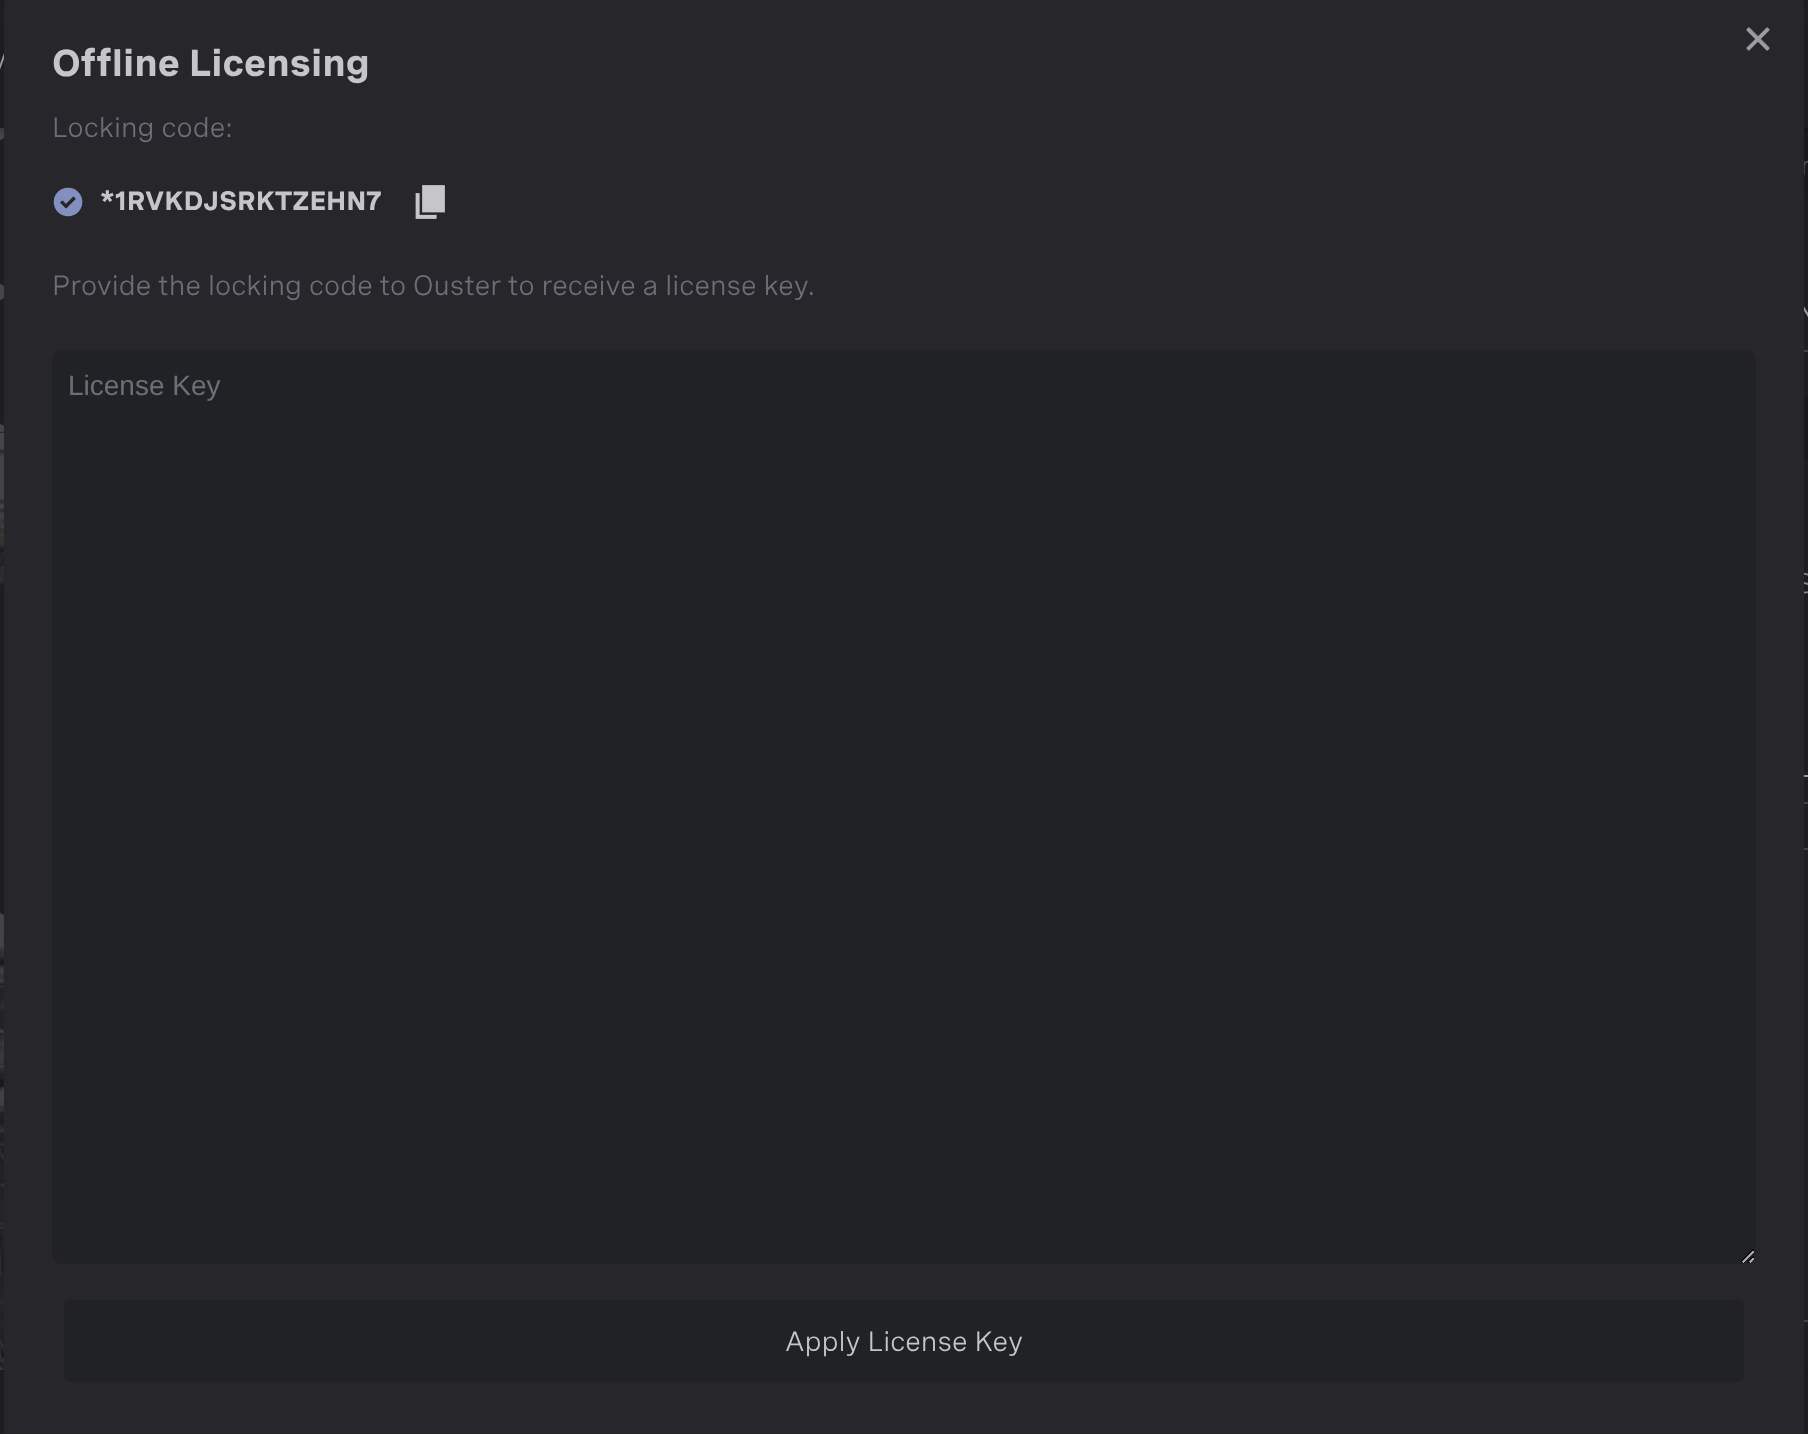
Offline Licensing dialog showing the locking code
Step 3: Paste the license key into the License Key field and click Apply License Key. License key applied confirms success, and the license appears under Licenses.
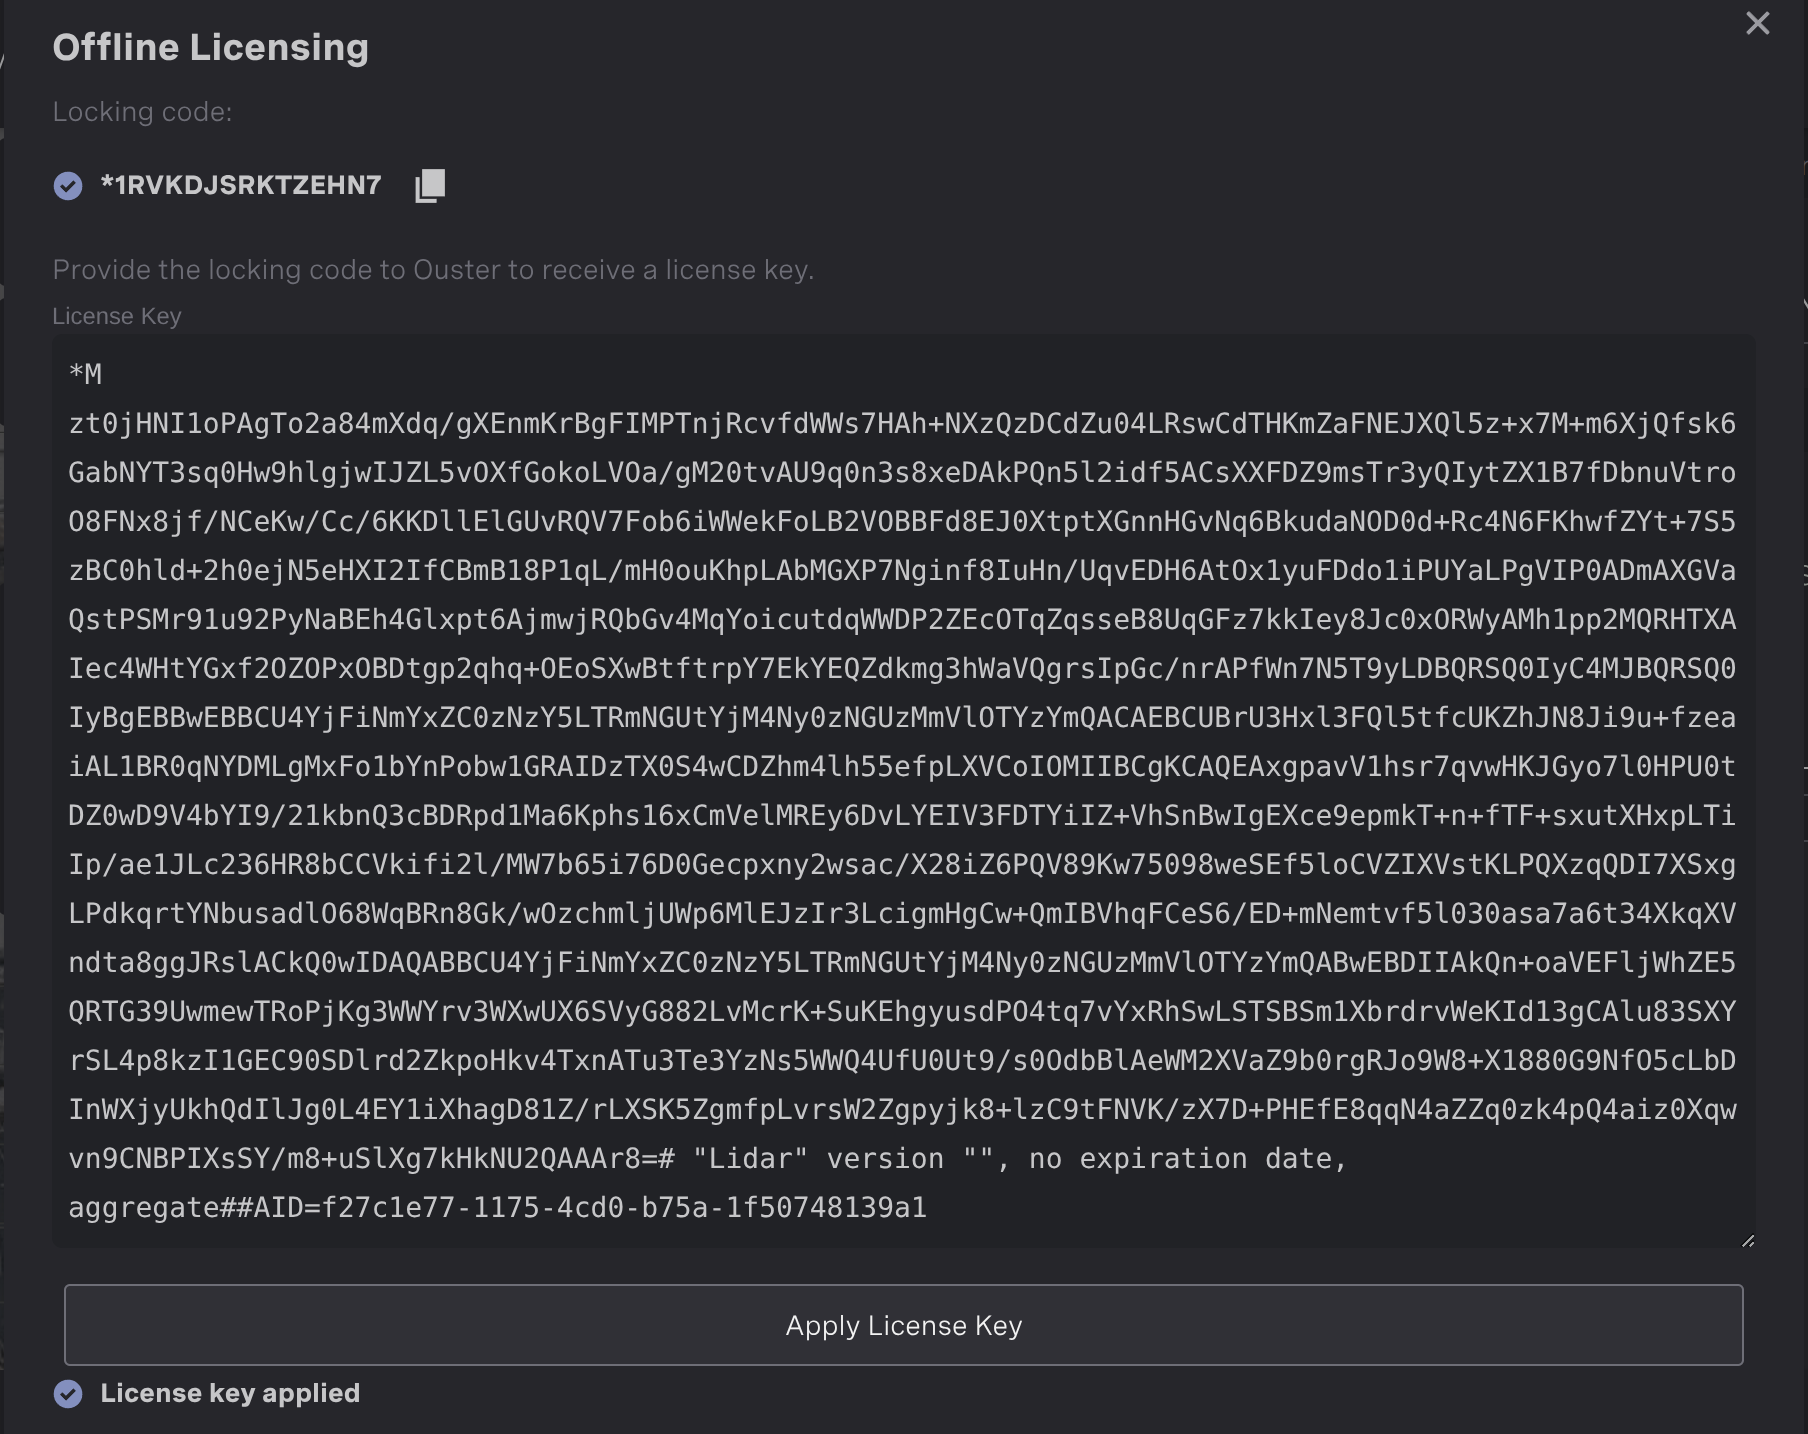
License key applied
Viewing Licenses and Entitlements
Activated licenses are shown on the left pane of the Setup page under Licenses. Each license is displayed as a card with its name, a version badge, and its seat usage:
Activated — the number of sensor licenses currently in use.
Remaining — the number of sensor licenses still available.
Each card also lists the Entitlements that make up the license. Every entitlement shows:
EID — the entitlement ID, with a button to copy it to the clipboard.
Sensor Count — the number of sensors the entitlement covers.
Expiry — the entitlement’s status, shown as the expiry date for an active entitlement, Expiring Soon (date) when it expires within 30 days, Expired (date) once it has expired, or Never for a perpetual entitlement.
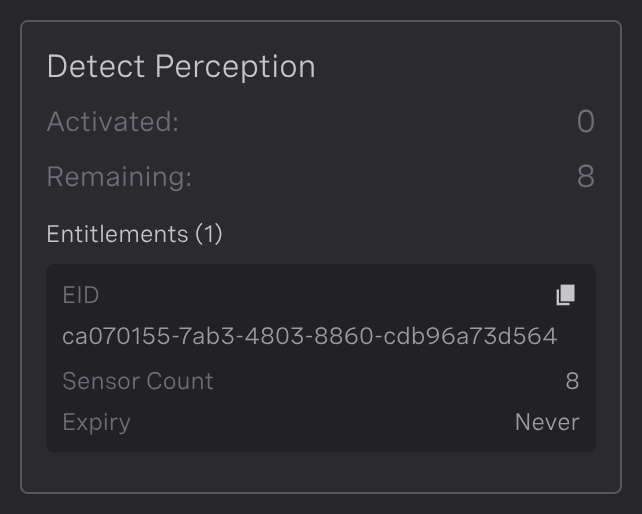
The Licenses panel showing activated/remaining counts and entitlements